
How to Prepare Sea Moss Gel at Home
- Oct 7, 2025
- 3 min read
Sea moss gel has become a popular natural supplement known for its rich mineral content and health benefits. Making your own homemade sea moss gel is simple, cost-effective, and ensures you get a fresh, pure product without any additives. This guide will walk you through the process step-by-step, helping you create your own nutrient-packed gel right in your kitchen.
What You Need to Make Homemade Sea Moss Gel
Before diving into the preparation, it’s important to gather all the necessary ingredients and tools. Here’s what you will need:
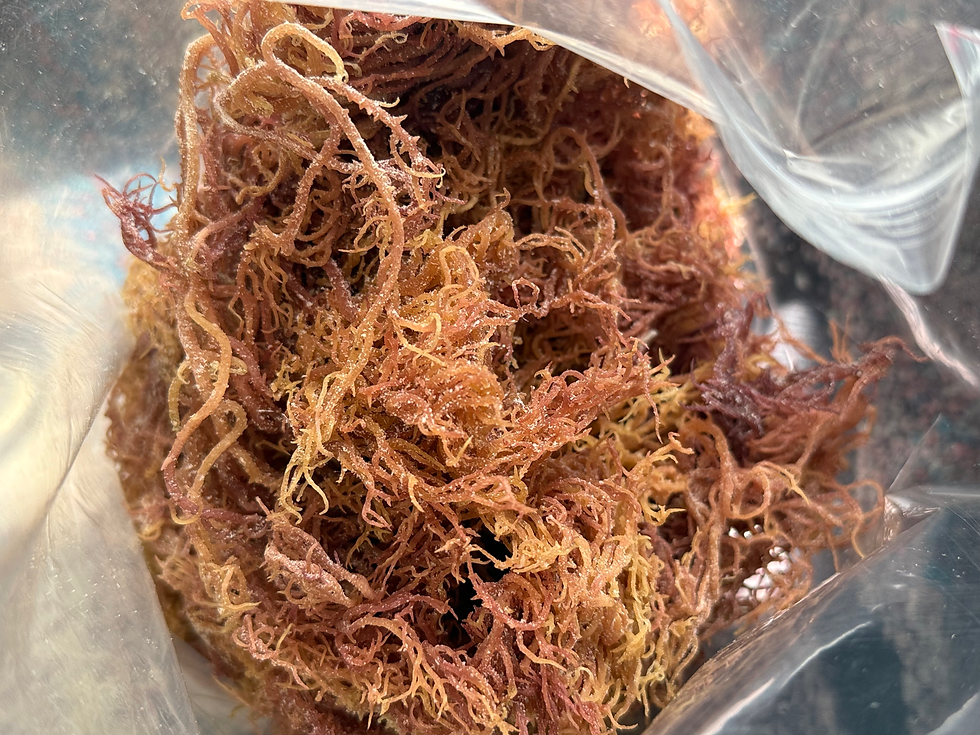
Raw dried sea moss: This is the base ingredient. It usually comes in dried clumps or sheets.
Water: For soaking and blending the sea moss.
Blender: To turn the soaked sea moss into a smooth gel.
Glass jar or airtight container: For storing the gel in the refrigerator.
Tips for Choosing Sea Moss
Look for high-quality, wildcrafted sea moss.
Avoid sea moss with added preservatives or artificial colors.
Rinse the sea moss thoroughly to remove sand, salt, and debris.

Step-by-Step Guide to Prepare Homemade Sea Moss Gel
Making homemade sea moss gel is straightforward and requires only a few hours of soaking time. Follow these steps for the best results:
Step 1: Rinse the Sea Moss
Place the dried sea moss in a large bowl and rinse it under cold water. Use your hands to gently rub the sea moss to remove any dirt or sand. Repeat this process until the water runs clear.
Step 2: Soak the Sea Moss
Cover the rinsed sea moss with fresh, filtered water. Let it soak for 12 to 24 hours at room temperature. During this time, the sea moss will expand and soften, increasing in size by up to three times.
Step 3: Blend into Gel
Drain the soaking water but keep it aside. Add the softened sea moss to a blender along with some of the reserved soaking water. Blend on high speed until you get a smooth, creamy gel. Add more water if needed to reach your desired consistency.
Step 4: Store the Gel
Transfer the gel into a clean glass jar or airtight container. Seal it tightly and refrigerate. The gel will thicken as it cools and can be stored for up to 3 weeks.

Who Should Not Eat Sea Moss Gel?
While sea moss gel is generally safe for most people, there are some groups who should exercise caution or avoid it altogether:
People with thyroid issues: Sea moss contains iodine, which can affect thyroid function. Consult a healthcare provider before use.
Pregnant or breastfeeding women: Limited research exists on safety during pregnancy and lactation.
Individuals with allergies to seaweed or iodine: Allergic reactions can occur.
Those on blood-thinning medication: Sea moss may interact with certain medications.
If you fall into any of these categories, it’s best to seek medical advice before incorporating sea moss gel into your diet.
How to Use Your Homemade Sea Moss Gel
Once you have your fresh sea moss gel, there are many ways to enjoy it:
Smoothies: Add a tablespoon to your favorite smoothie for a nutrient boost.
Soups and stews: Stir in the gel as a thickener and to enhance nutrition.
Face masks: Use the gel topically for skin hydration and soothing.
Beverages: Mix with juice or water for a refreshing drink.
Remember to start with small amounts to see how your body reacts, especially if you are new to sea moss.

Tips for Maximizing the Benefits of Sea Moss Gel
To get the most out of your homemade sea moss gel, consider these practical tips:
Use filtered or spring water for soaking and blending to avoid contaminants.
Store the gel in the fridge to maintain freshness and prevent spoilage.
Avoid heating the gel excessively, as high temperatures can degrade some nutrients.
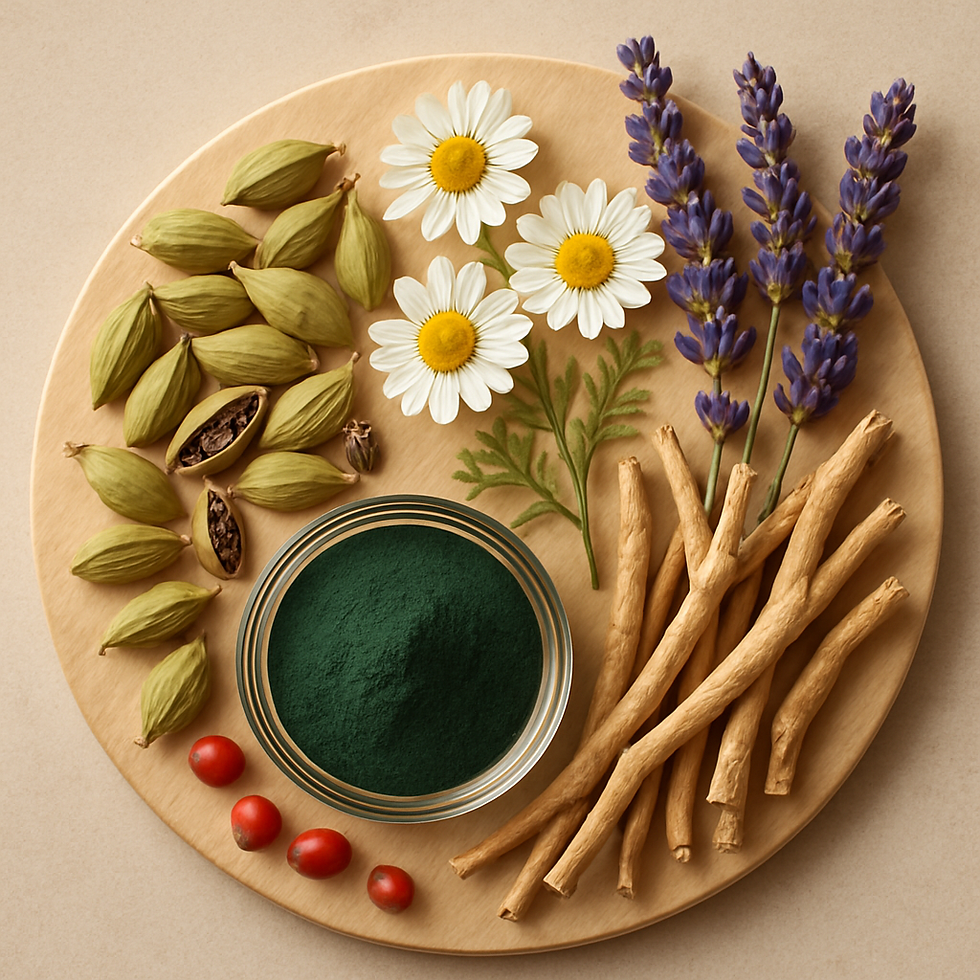
Combine with other superfoods like spirulina or turmeric for enhanced health effects.
Stay consistent with your intake to experience long-term benefits.
For a detailed recipe and more information, you can visit this sea moss gel resource.
Final Thoughts on Making Your Own Sea Moss Gel
Preparing your own sea moss gel at home is a rewarding process that allows you to enjoy a natural, nutrient-dense supplement. With just a few simple steps, you can create a versatile gel that supports your health and wellness goals. Whether you add it to your diet or skincare routine, homemade sea moss gel is a valuable addition to your lifestyle. Start your sea moss journey today and experience the benefits firsthand!

Comments